Configuring a Base NFS Server
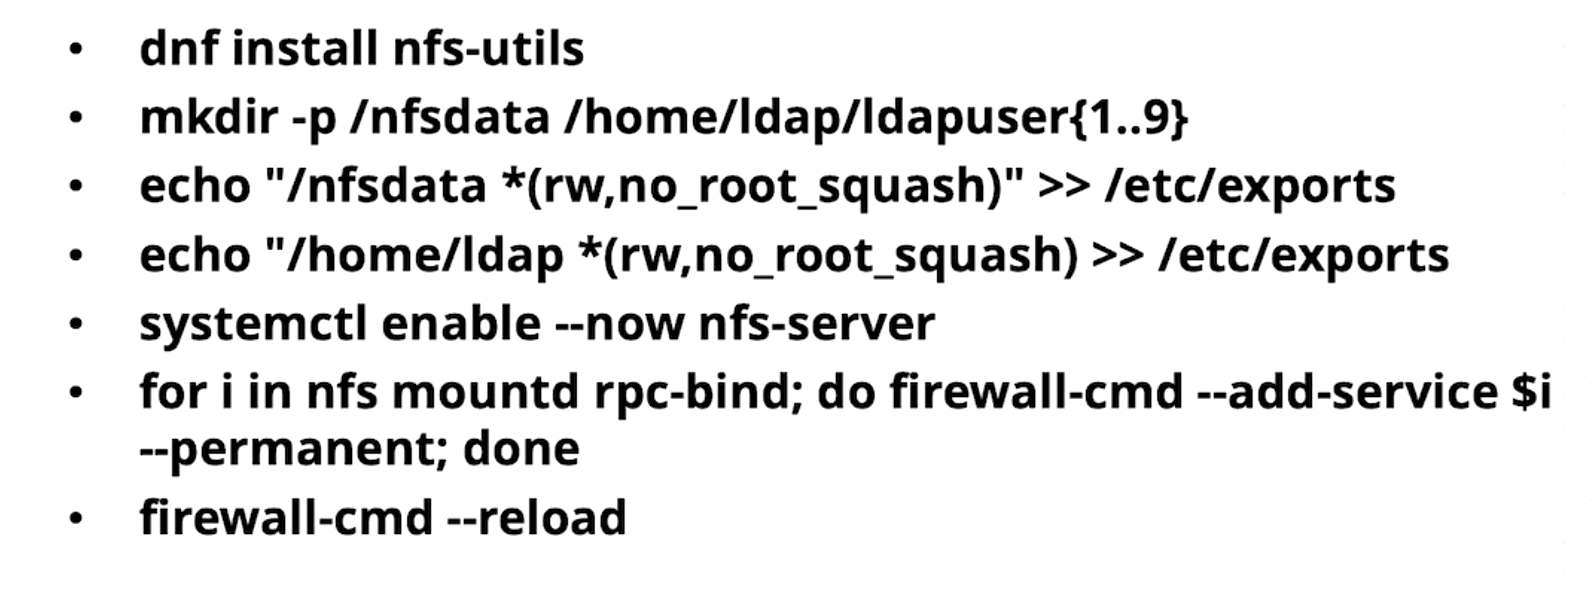
dnf install -y nfs-utils

mkdir -p /nfsdata /home/ldap/ldapuser{1..9}

echo "/nfsdata *(rw,no_root_squash)" >> /etc/exports
echo "/home/ldap *(rw,no_root_squash)" >> /etc/exports
systemctl enable --now nfs-server

for i in nfs mountd rpc-bind; do firewall-cmd --add-service $i --permanent; done

firewall-cmd --reload
What
no_root_squashsetting means?The
no_root_squashoption in NFS (Network File System) is used in the/etc/exportsfile on the NFS server to control the behavior of requests made by the root user (root) on the client machine.What it Does:
no_root_squash: When this option is enabled, the root user (uid=0) on the NFS client is allowed to access the shared directory with full root privileges. This means that the root user on the client machine will retain their UID of 0, and their requests to the NFS server will be treated as requests from the root user on the server as well. This gives the root user on the client machine unrestricted access to the files and directories on the NFS server.- Default Behavior (
root_squash): Ifno_root_squashis not specified (or ifroot_squashis explicitly used), then when the root user from the NFS client accesses the shared directory, their requests are “squashed” to a non-privileged user (typicallynfsnobodywith a low UID/GID, such as 65534). This is a security measure designed to prevent the root user on the client from having root-level access to the NFS server.Example of
/etc/exports:
- With
no_root_squash:In this case, the root user on any client machine within the/nfsdata 192.168.122.0/24(rw,no_root_squash)192.168.122.0/24subnet can access/nfsdatawith full root privileges.- With
root_squash(default):Here, the root user on any client machine within the/nfsdata 192.168.122.0/24(rw,root_squash)192.168.122.0/24subnet will have their requests squashed to thenfsnobodyuser, thus limiting their privileges.Security Implications:
no_root_squashcan be a potential security risk because it allows the root user on the client machine to have the same root-level privileges on the NFS server. This might lead to unintended or malicious access to sensitive files on the server, especially if there are multiple machines with differing levels of trust in the network.- It’s often recommended to use
root_squashto prevent the root user on client machines from having full access to the NFS server, which adds an extra layer of protection.When to Use
no_root_squash:You might use
no_root_squashin trusted environments where you have full control over the client machines and need root access to the NFS share for administrative tasks, such as backup or system maintenance. However, it’s generally better to avoid this unless absolutely necessary due to the security risks involved.
Mounting NFS Shares
yum install -y autofs
showmount -e nfsserver
mount nfsserver:/share /mnt


vi /etc/auto.master
/data /etc/auto.nfsdata


cat /etc/auto.misc
vi /etc/auto.nfsdata

files -rw nfsserver:/nfsdata
* -rw nfsserver:/home/ldap/&

systemctl enable --now autofs


Understanding Automount

above commands will crate /etc/nfsdata/files/ directory

Configuring Automount
Automount for home directories
![]()


- based on the wildcard directories from 1 upto 9 will be available
