As we have seen already, the Kubernetes cluster
consists of multiple nodes, physical or virtual,
and various components that work together.
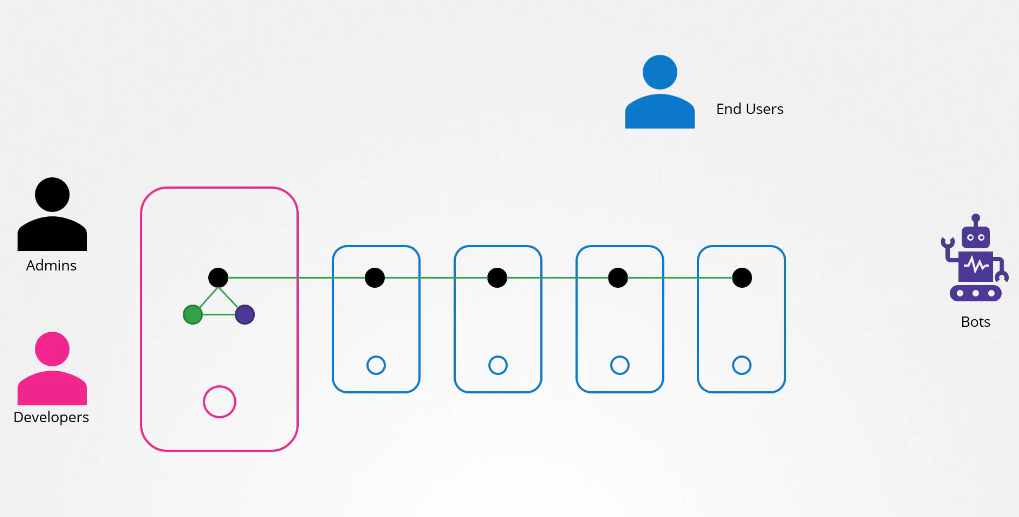 We have users like administrators that access the cluster
to perform administrative tasks, the developers
that access the cluster to test or deploy applications.
We have end users who access the applications
deployed on the cluster,
and we have third party applications
accessing the cluster for integration purposes.
Throughout this section,
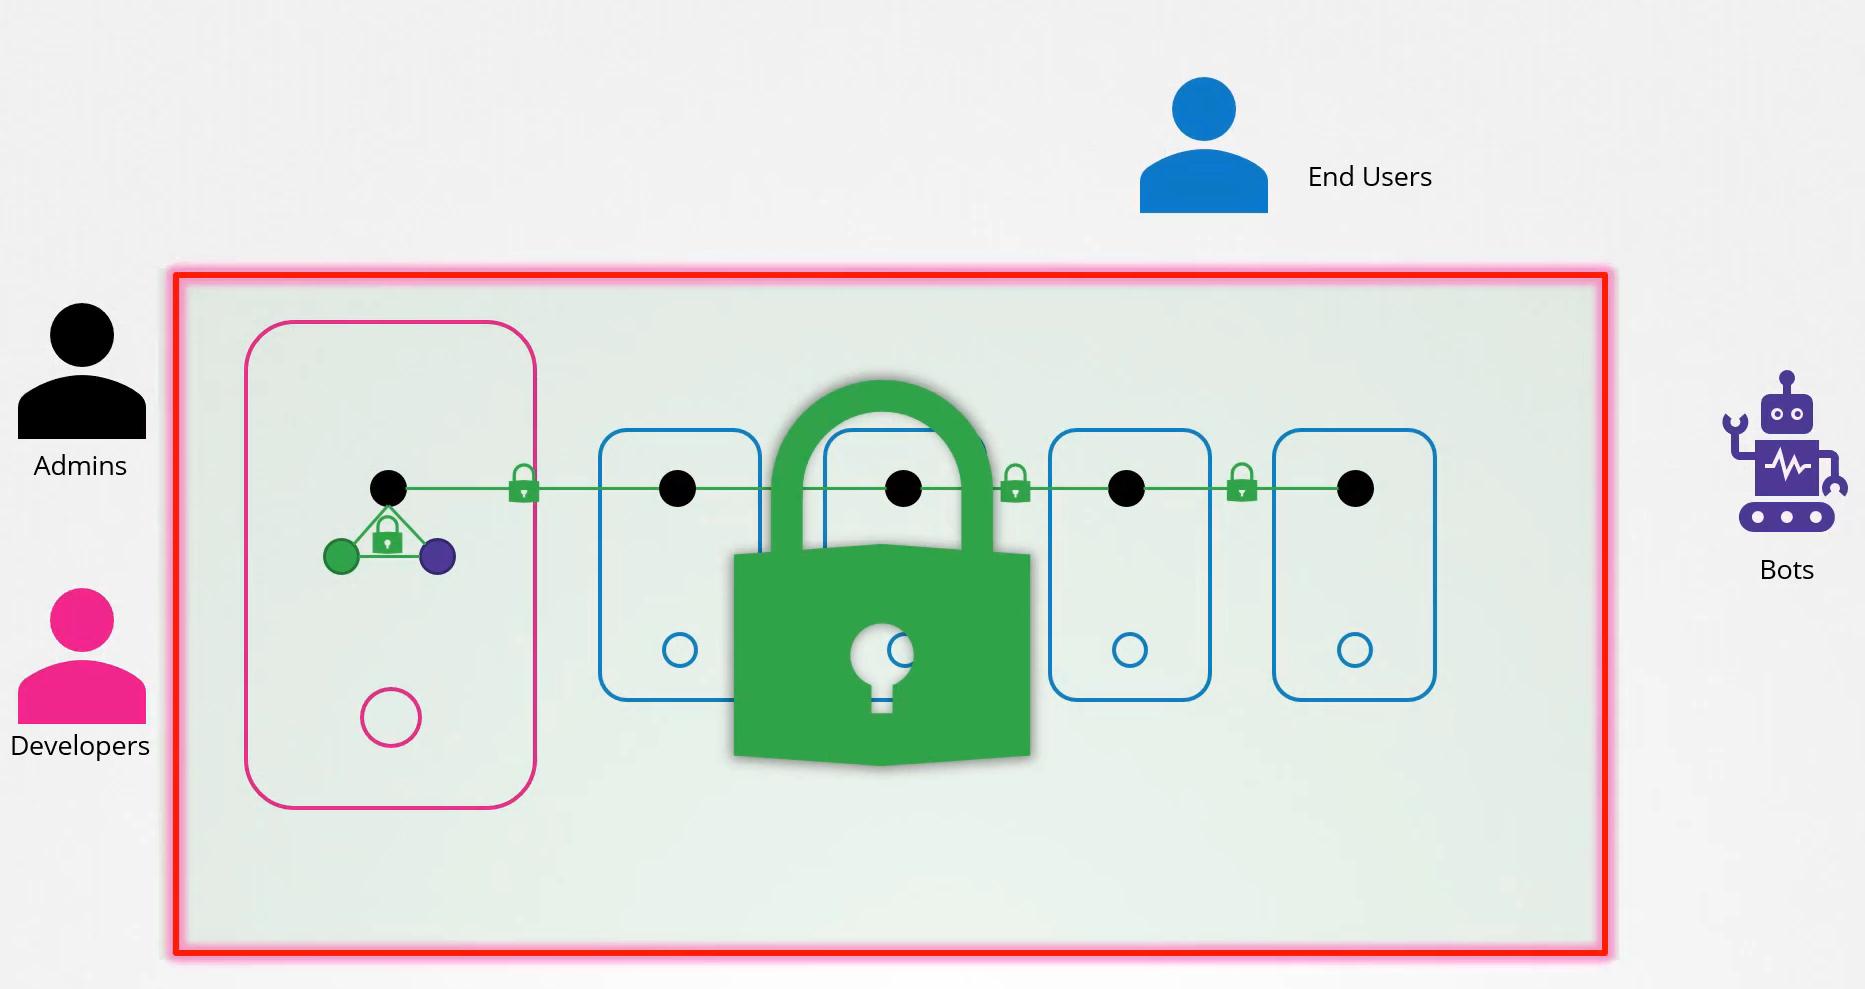
we will discuss how to secure our cluster,
by securing the communication between internal components
and securing management access to the cluster
through authentication and authorization mechanisms.
In this lecture, our focus is on securing access
to the Kubernetes cluster with authentication mechanisms.
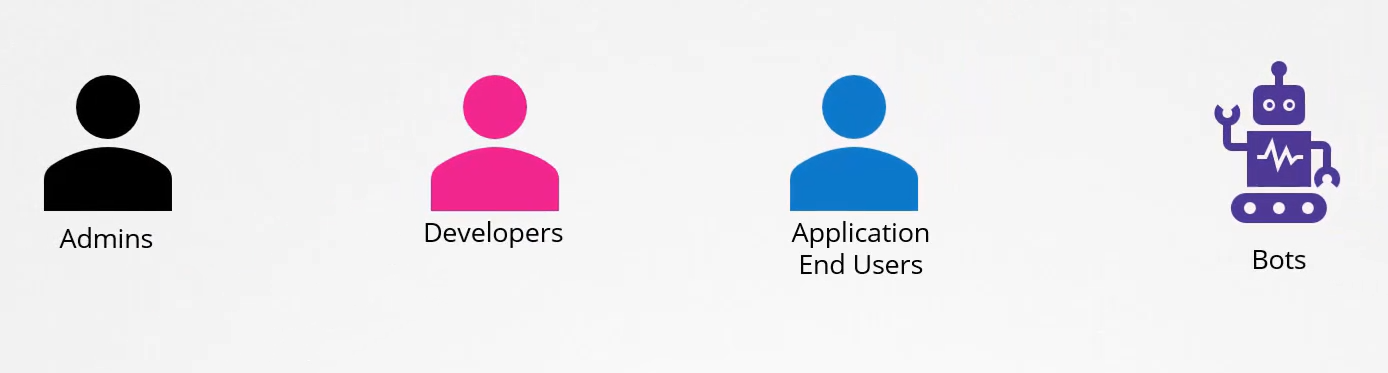 So we talked about the different users
that may be accessing the cluster.
Security of end users, who access the applications
deployed on the cluster is managed
by the applications themselves, internally.
So we will take them out of our discussion.
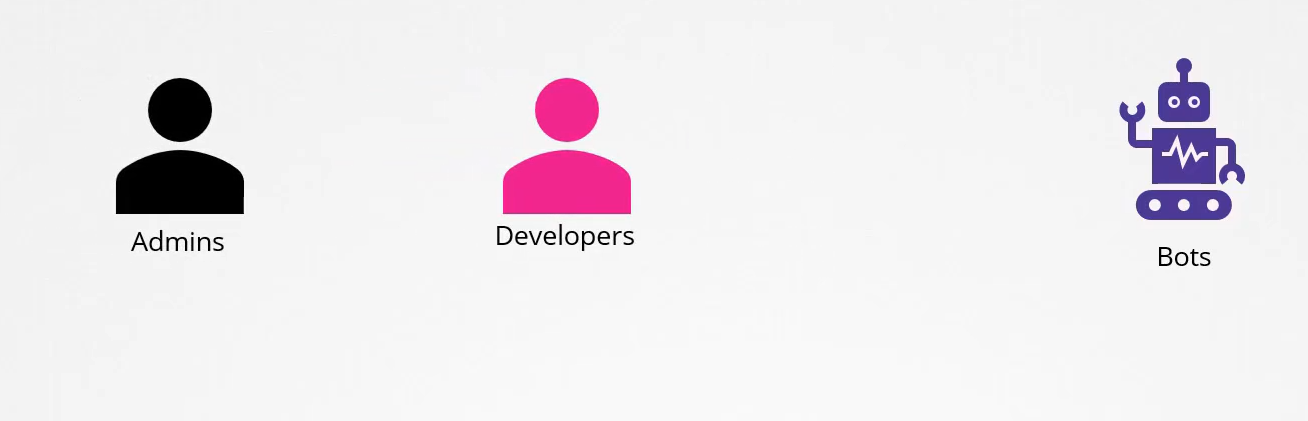
Our focus is on users’ access to the Kubernetes cluster
for administrative purposes.
So we are left with two types of users,
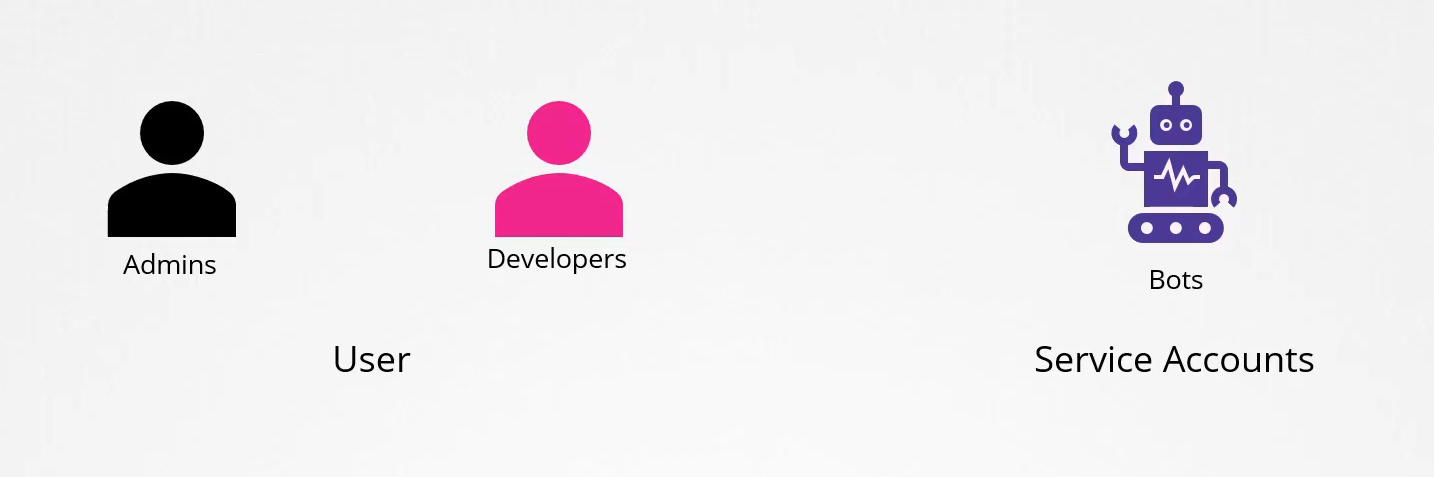 humans such as the administrators and developers,
and robots such as other processes
or services or applications
that require access to the cluster.
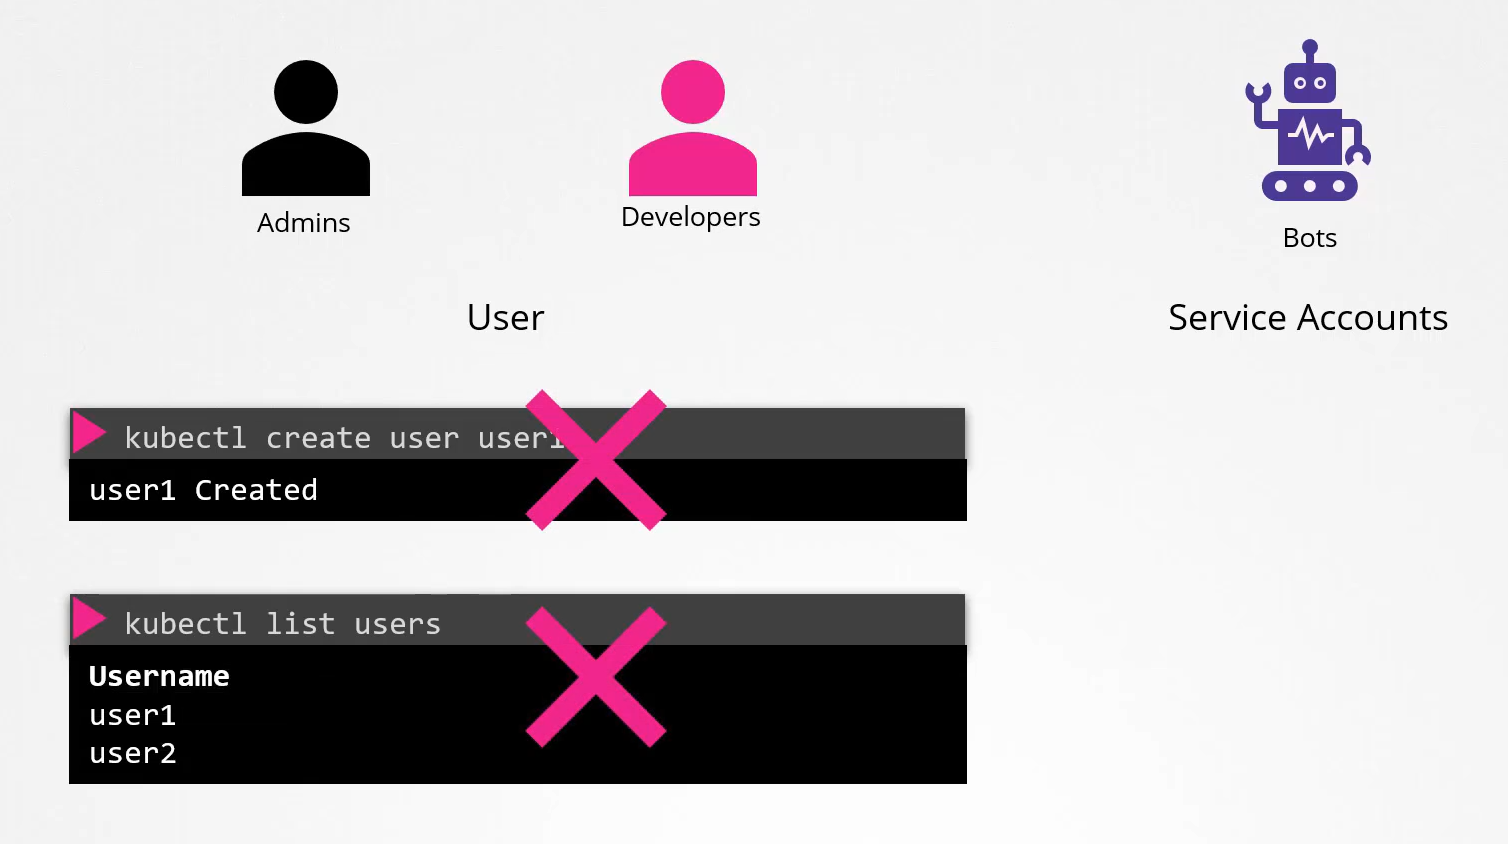 Kubernetes does not manage user accounts natively.
It relies on an external source like a file with user details or certificates or a third party identity service, like LDAP to manage these users.
And so you cannot create users in a Kubernetes cluster or view the list of users like this.
However, in case of service accounts, Kubernetes can manage them.
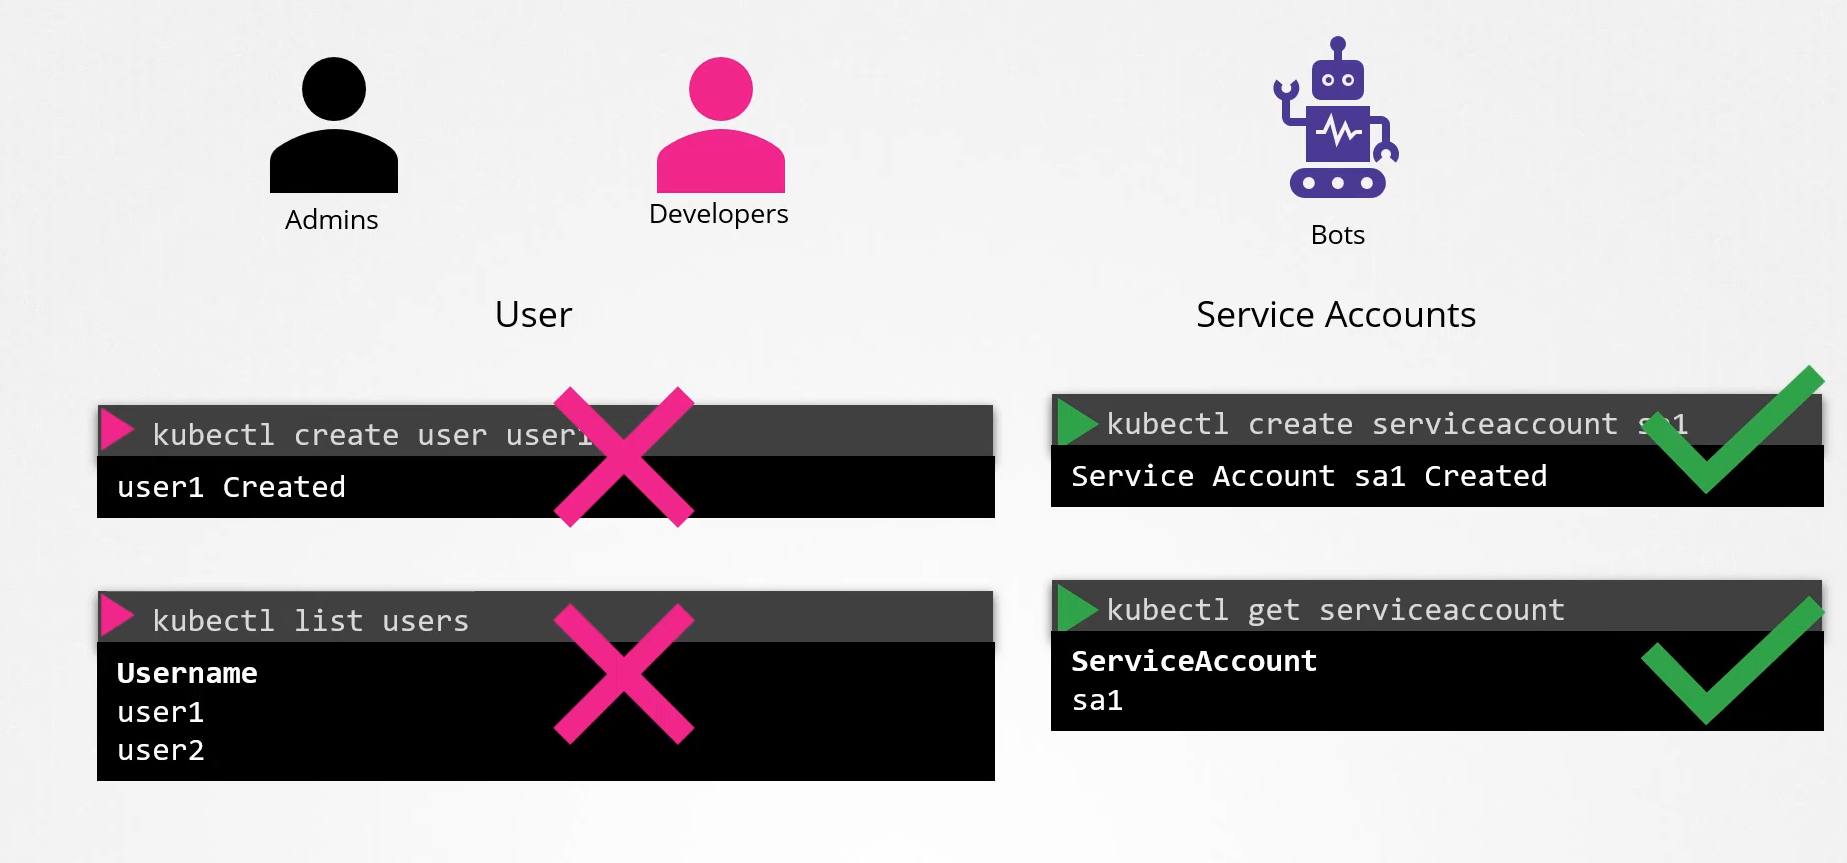 You can create and manage service accounts
using the Kubernetes API.
We have a section on service accounts exclusively,
where we discuss and practice more about service accounts.
For this lecture, we will focus on users in Kubernetes.
All user access is managed by the API server,
whether you’re accessing the cluster through
Kubecontrol tool or the API directly.
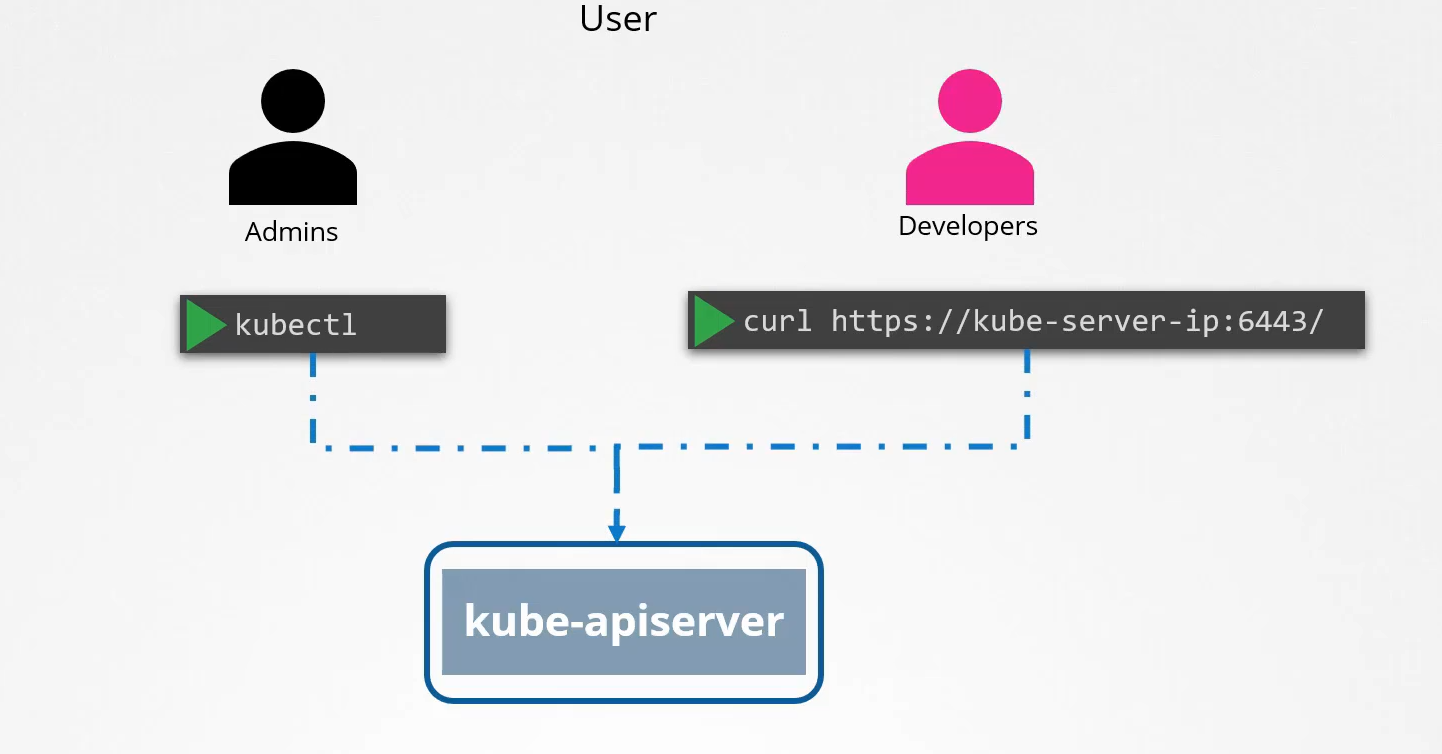 All of these requests go through the Kube API server.
The Kube API server authenticates the request
before processing it.
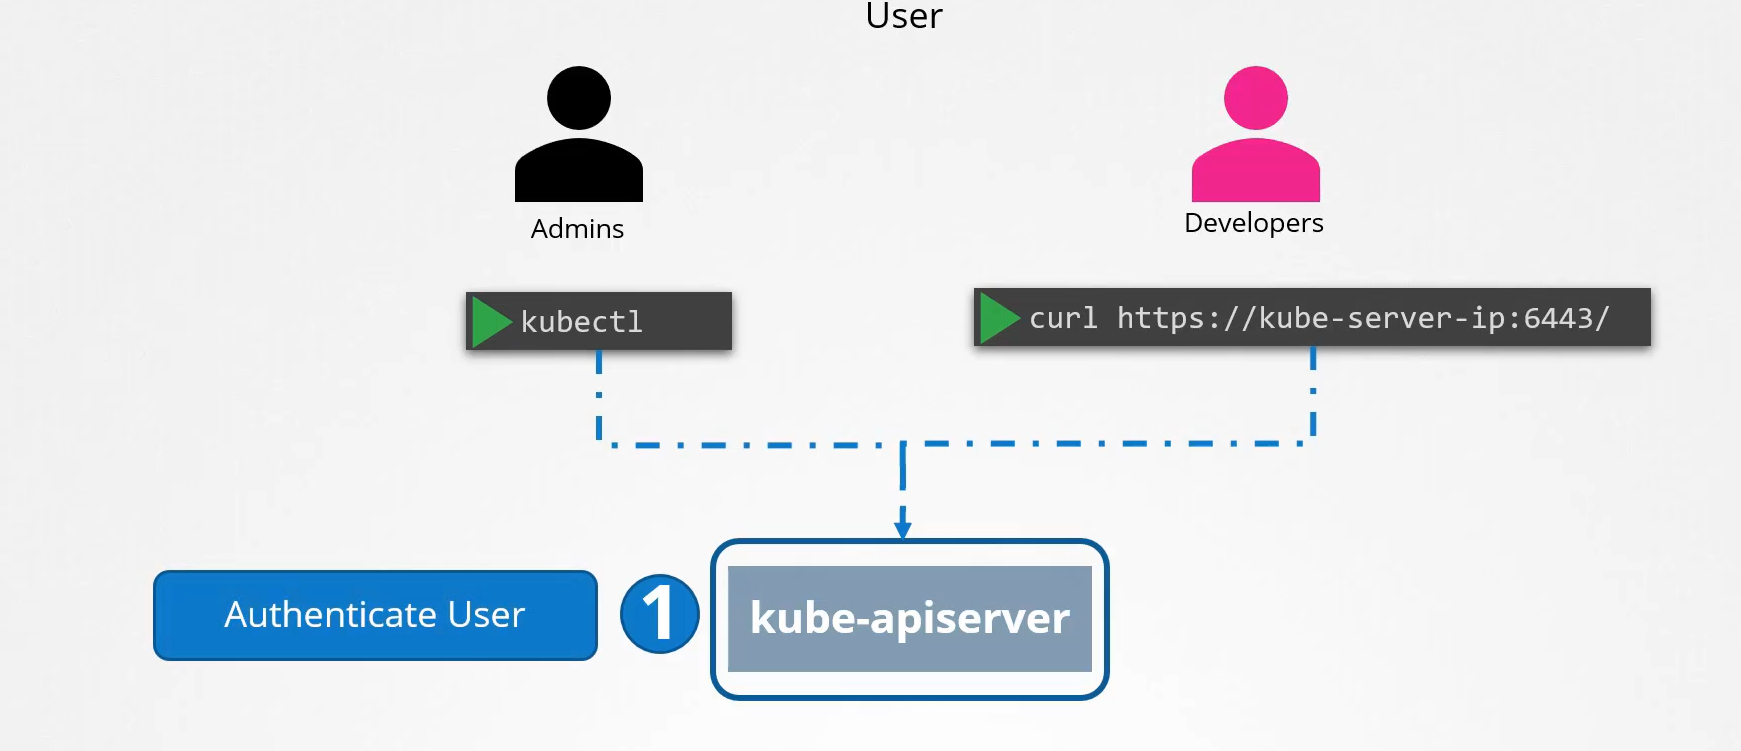 So how does the Kube API server authenticate?
There are different authentication mechanisms
that can be configured.
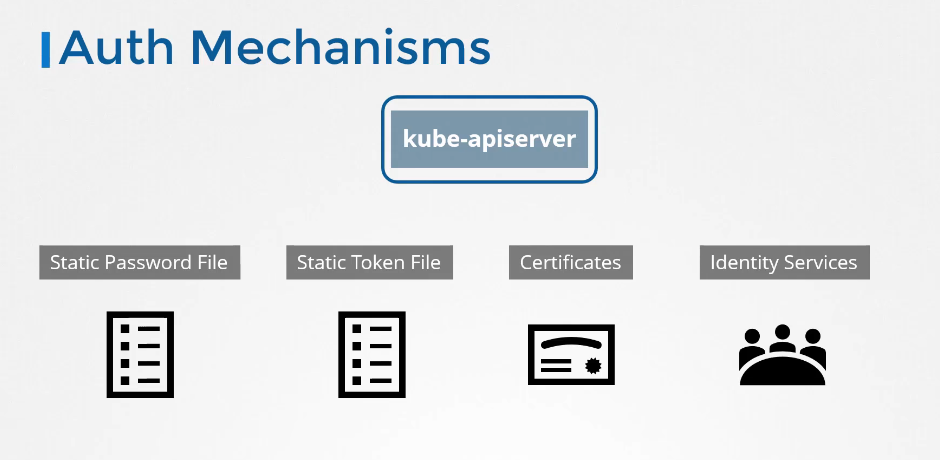 You can have a list of username and passwords
in a static password file or usernames
and tokens in a static token file
or you can authenticate using certificates.
And another option is to connect to third party
authentication protocols like LDAP, Kerberos et cetera.
We will look at some of these next.
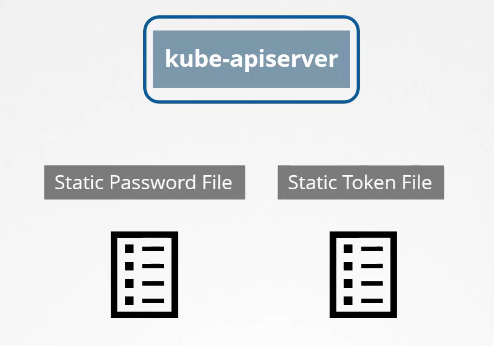 Let’s start with static password and token files
as it is the easiest to understand.
Let’s start with the simplest form of authentication.
You can create a list of users and their passwords
in a CSV file and use that as the source
for user information.
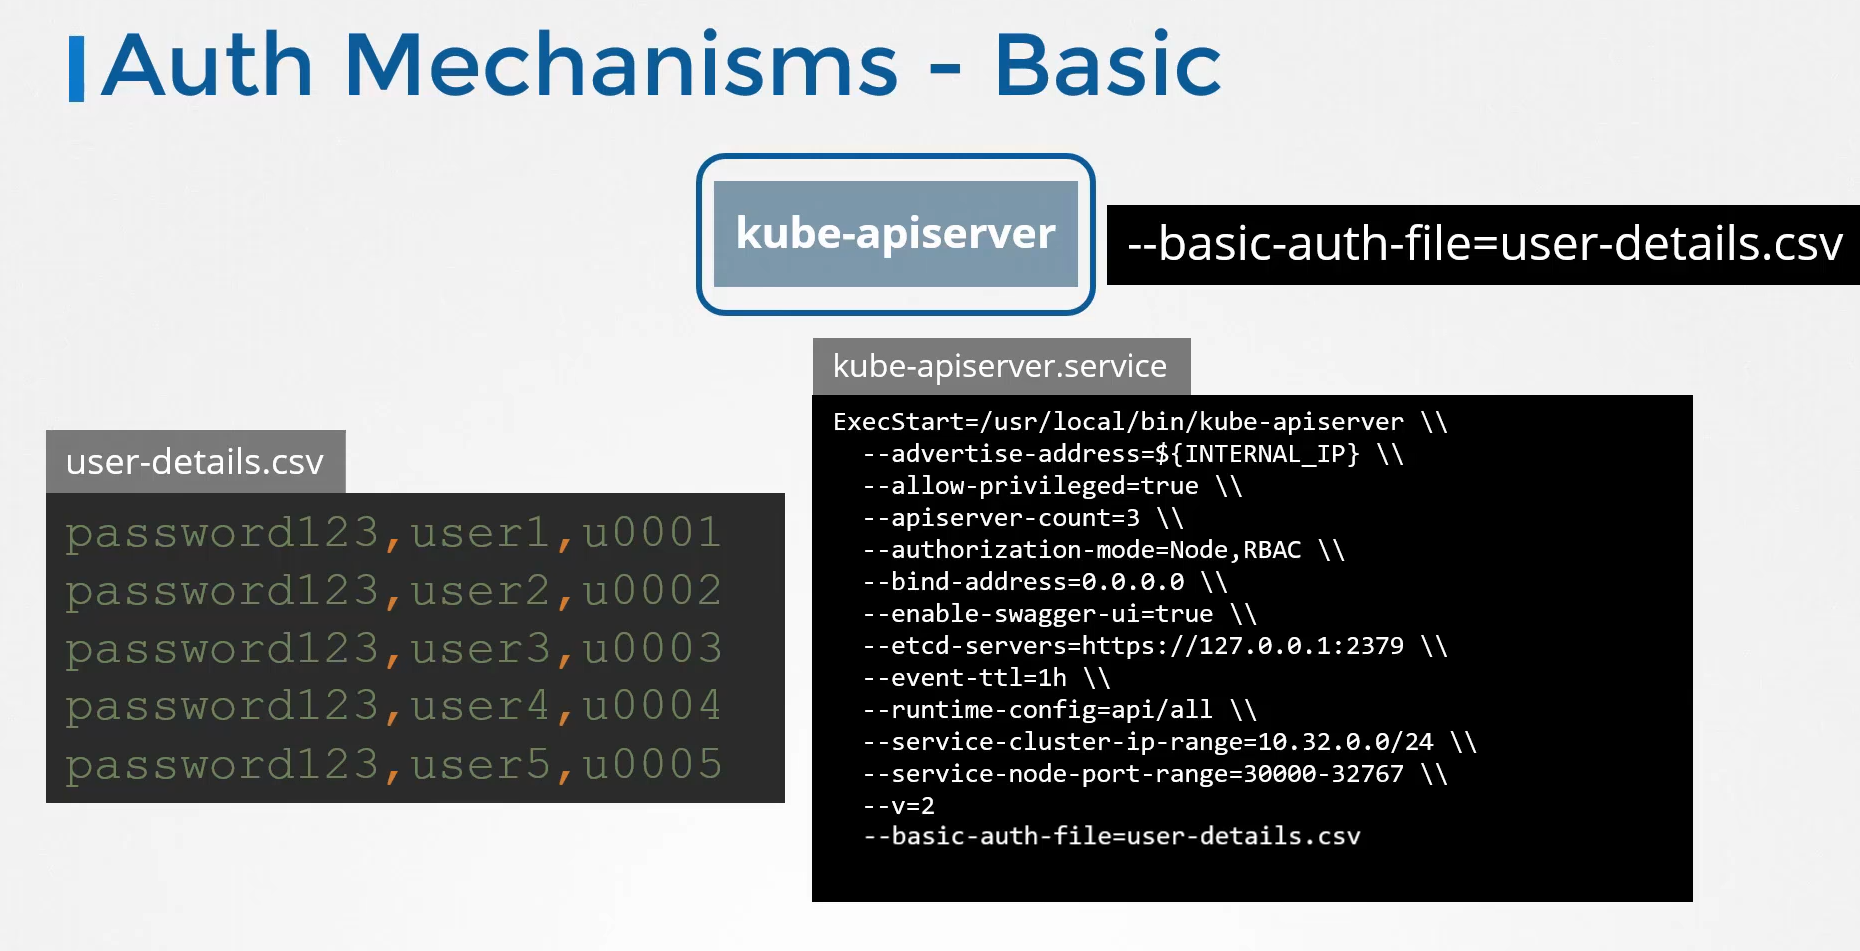 The file has three columns, password, username, and user ID.
We then pass the file name as an option
to the Kube API server.
Remember the Kube API server service
and the various options we looked at earlier in this course.
That is where you must specify this option.
You must then restart the Kube API server
for these options to take effect.
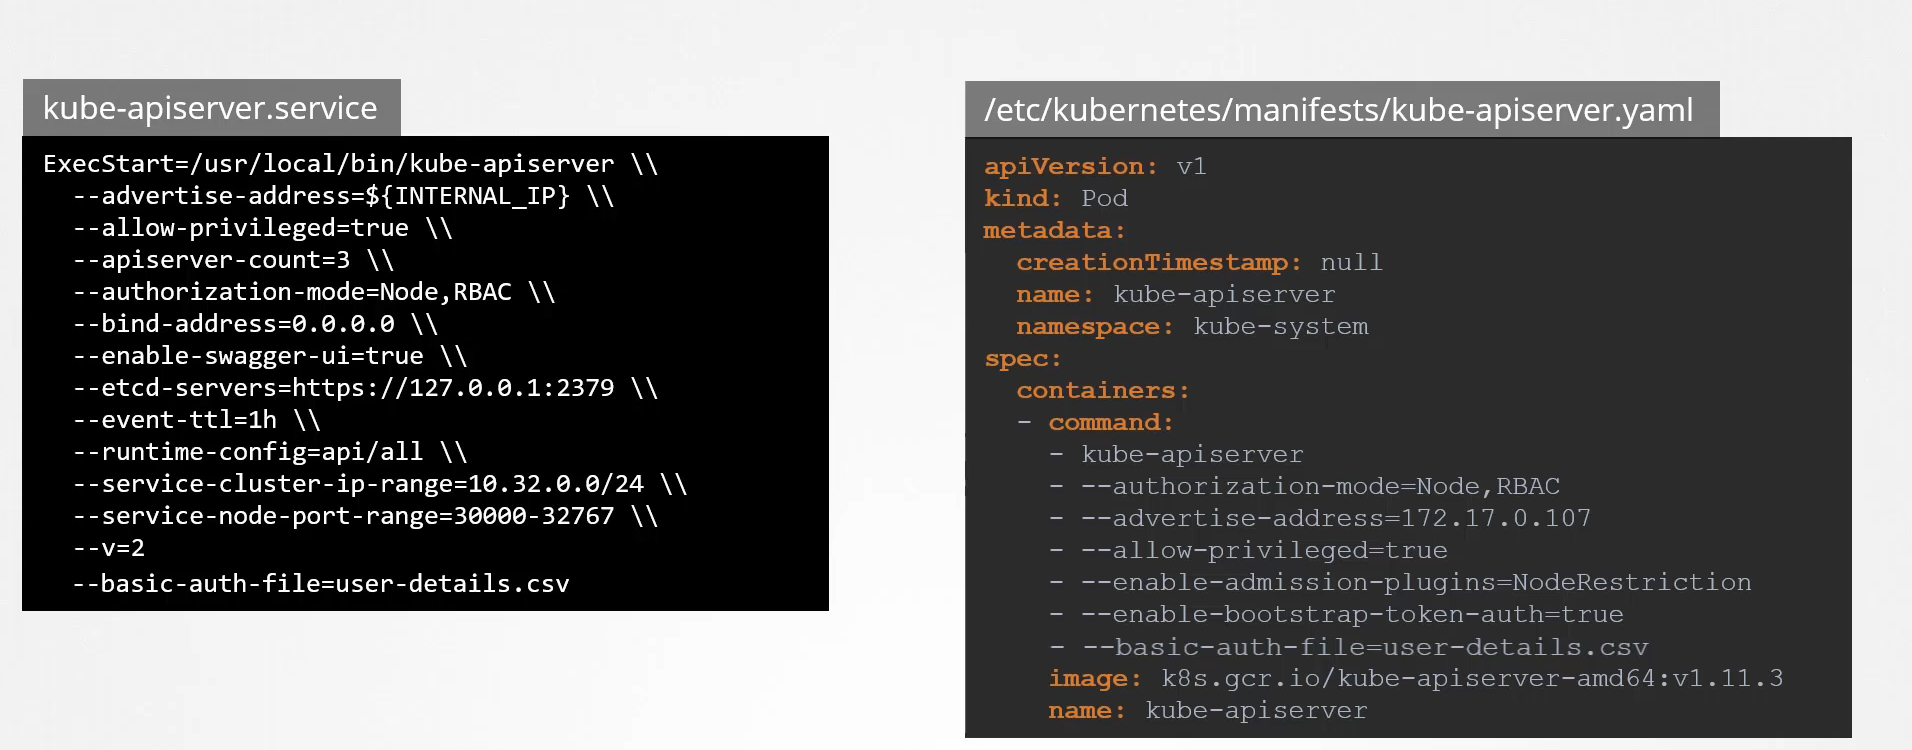 If you set up your cluster using the Kubeadm tool,
then you must modify the Kube API server
POD definition file.
The Kubeadm tool will automatically
restart the Kube API server once you update this file.
To authenticate using the basic credentials
while accessing the API server,
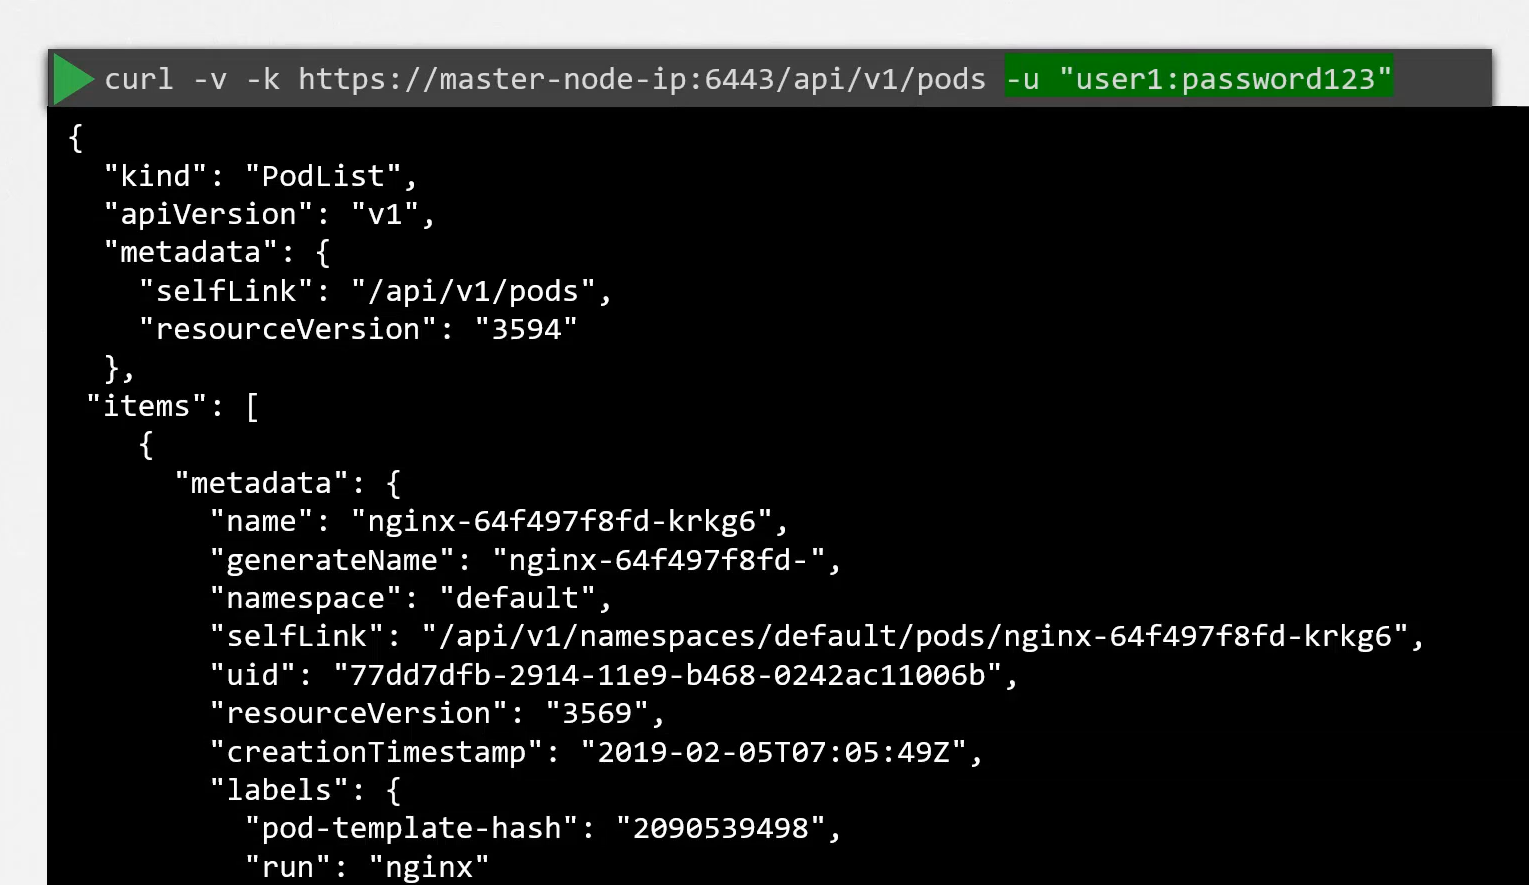
specify the user and password in a curl command like this.
In the CSV file with the user details that we saw,
we can optionally have a fourth column with the group
details to assign users to specific groups.
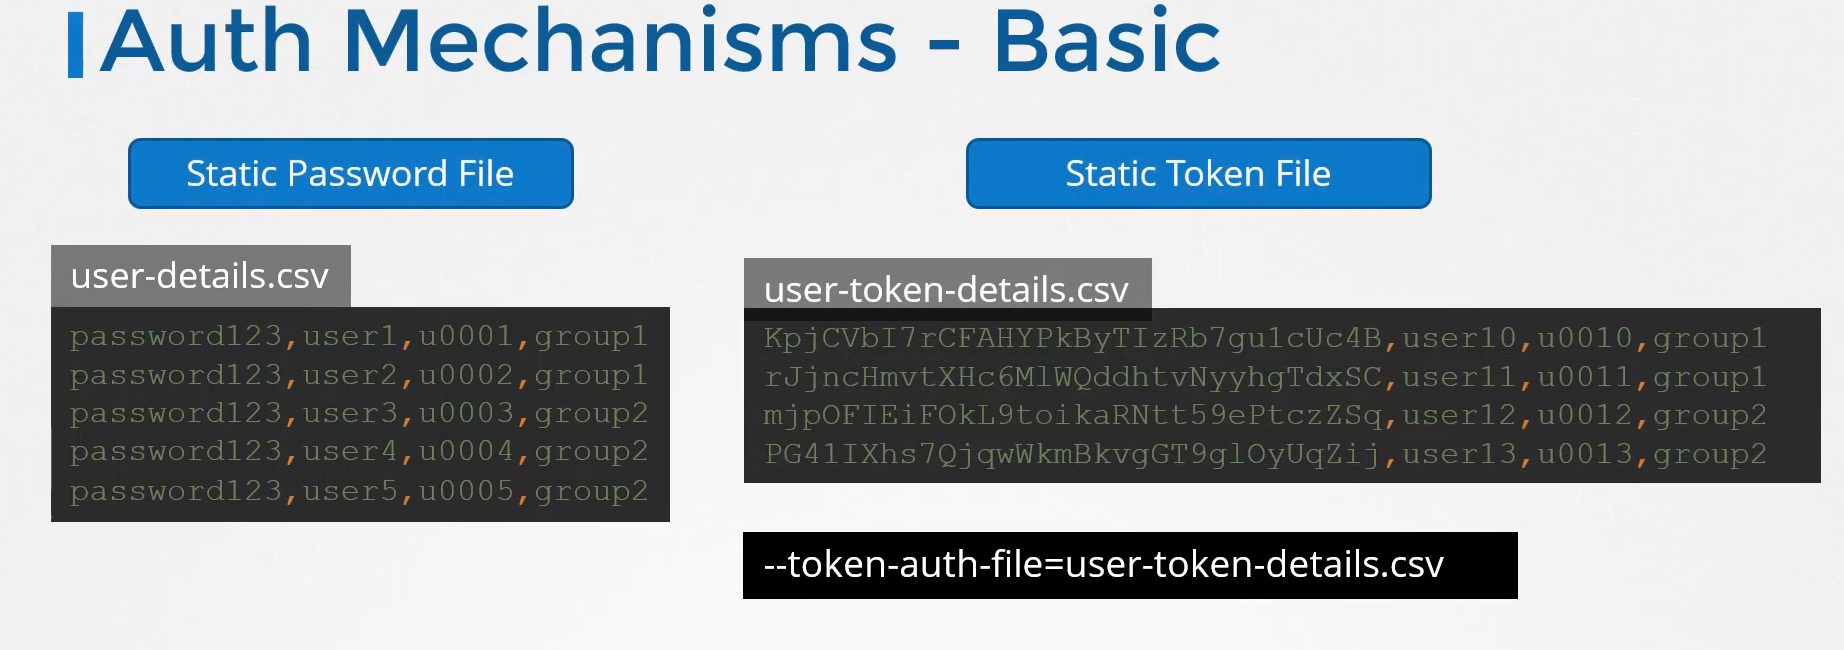 Similarly, instead of a static password file,
you can have a static token file.
Here instead of password, you specify a token.
Pass the token file as an option,
tokenauth file to the Kube API server.
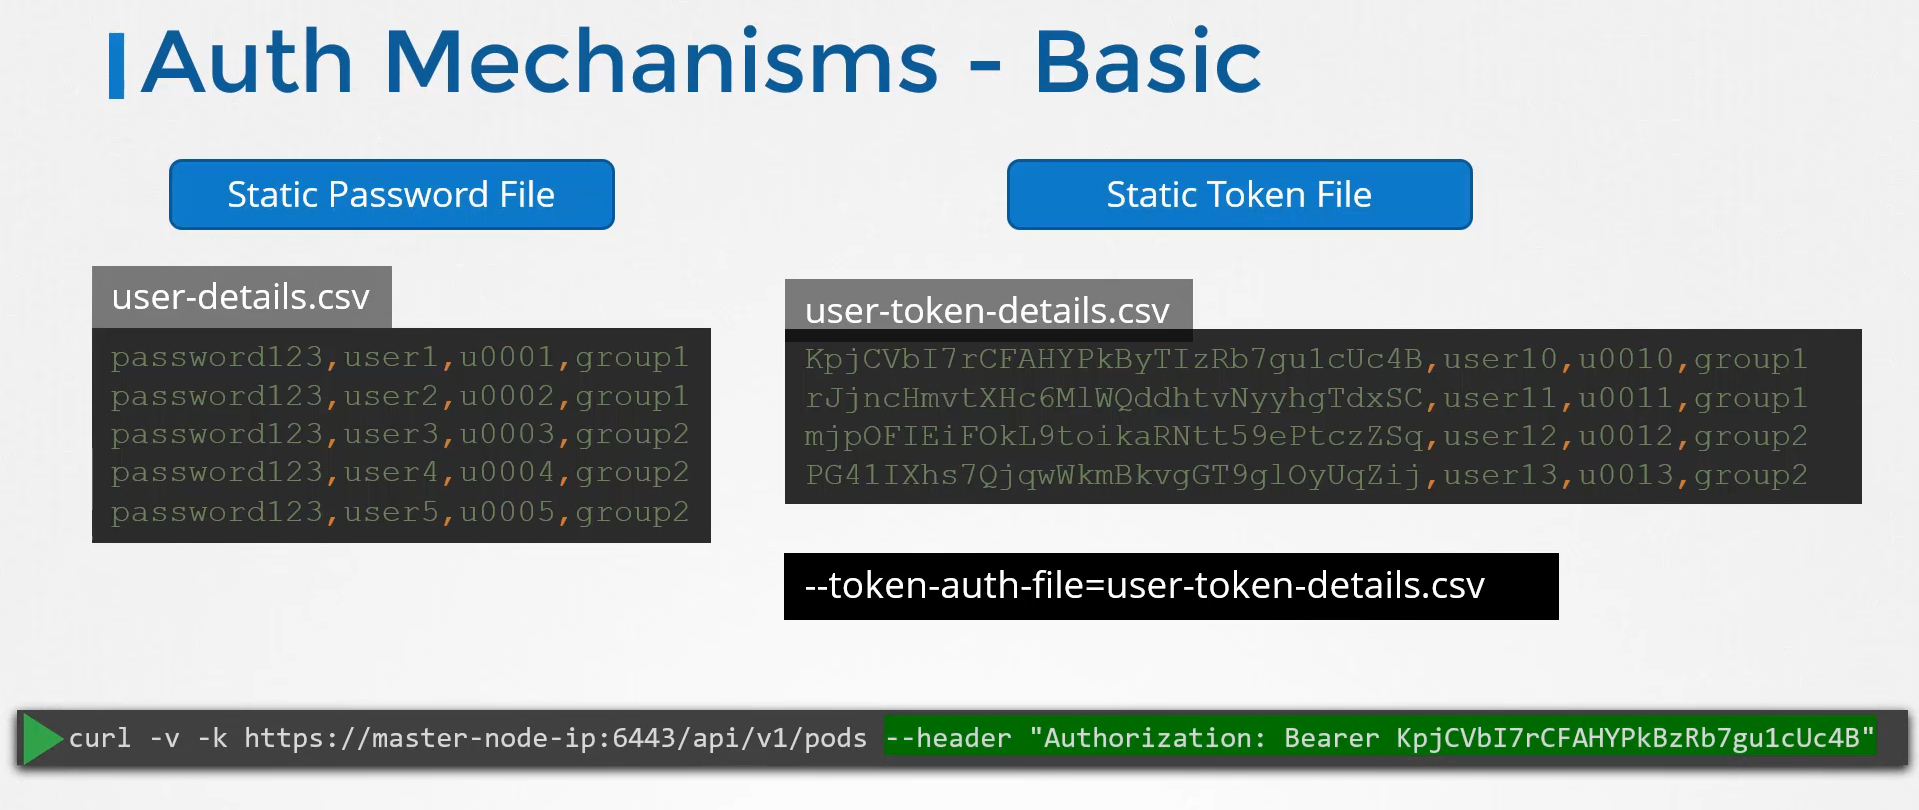 While authenticating specify the token
as an authorization barrier token
to your request like this.
 Remember that this authentication mechanism
that stores usernames, passwords, and tokens in clear text
in a static file, is not a recommended approach
as it is insecure.
But this was the easiest way to understand
the basics of authentication in Kubernetes.
Going forward, we will look
at other authentication mechanisms.
I also wanna point out that if you were trying this out
in a Kubeadm setup, you must also consider volume mounts
to passing the auth file.
Details about these are available
in the article that follows
and remember to set up authorization for the new users.
We will discuss about authorization later in this course.
In the upcoming lectures,
we will discuss about certificate based authentication
and how the various components within Kubernetes cluster
are secured using certificates.